Welcome to OC Fancy! Our mission is to bring creative writers and talented artists together to collaborate on their original characters and original stories. Starting a new blog can be intimidating, especially when you are getting familiar with the platform or start building your profile. Lucky for you, we are here to help! This post will walk you through the steps of how to get your character blog started on OC Fancy.
Step 1: Create an Account
To create an OCF account, simply locate the “Register” page, which is accessible by toggling the “Login” tab of the main menu located at the top of the screen.
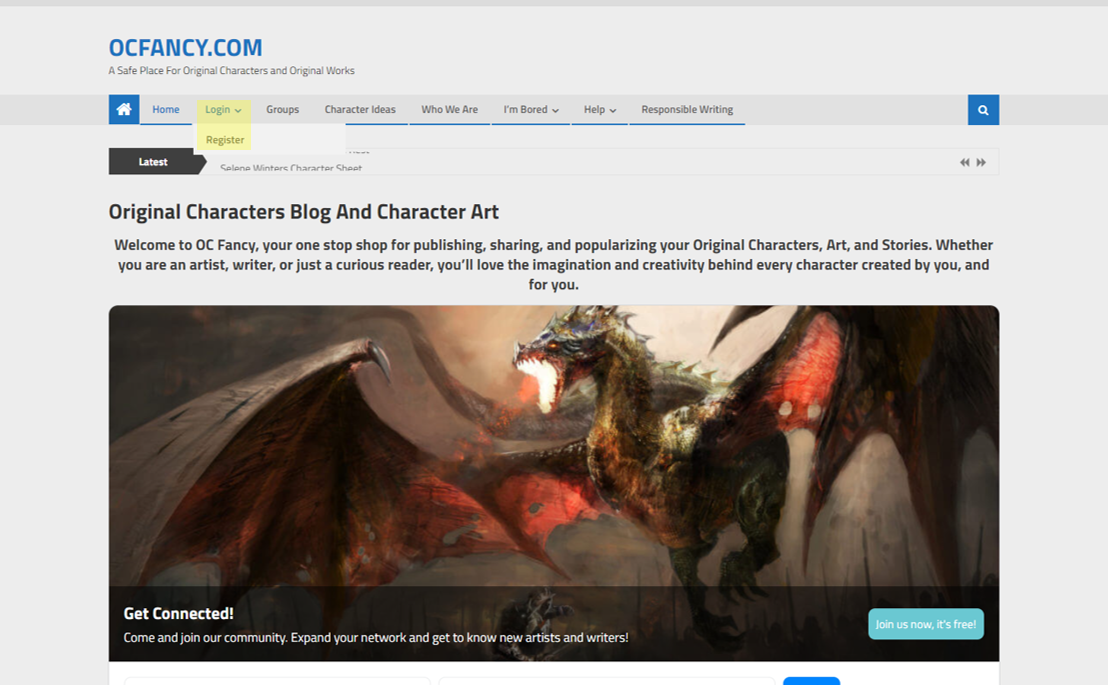
This will redirect you to the registration page where you can create a new account if you are not already an existing user.
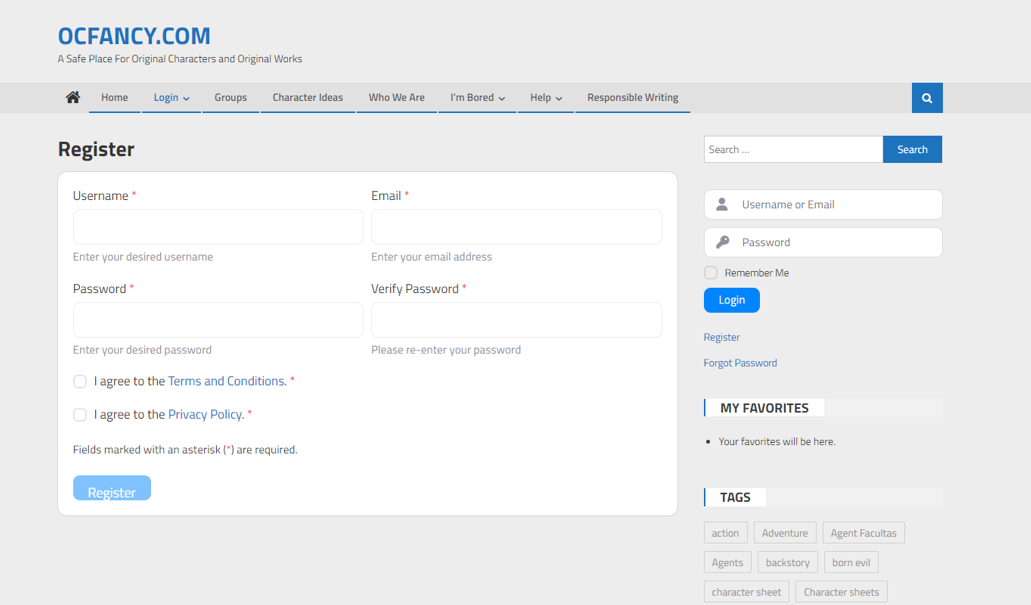
The fields marked with an asterisk are required, and new users are required to accept the site’s terms and conditions and acknowledge our privacy policy.
After you click the “Register” button, the following message will be displayed:
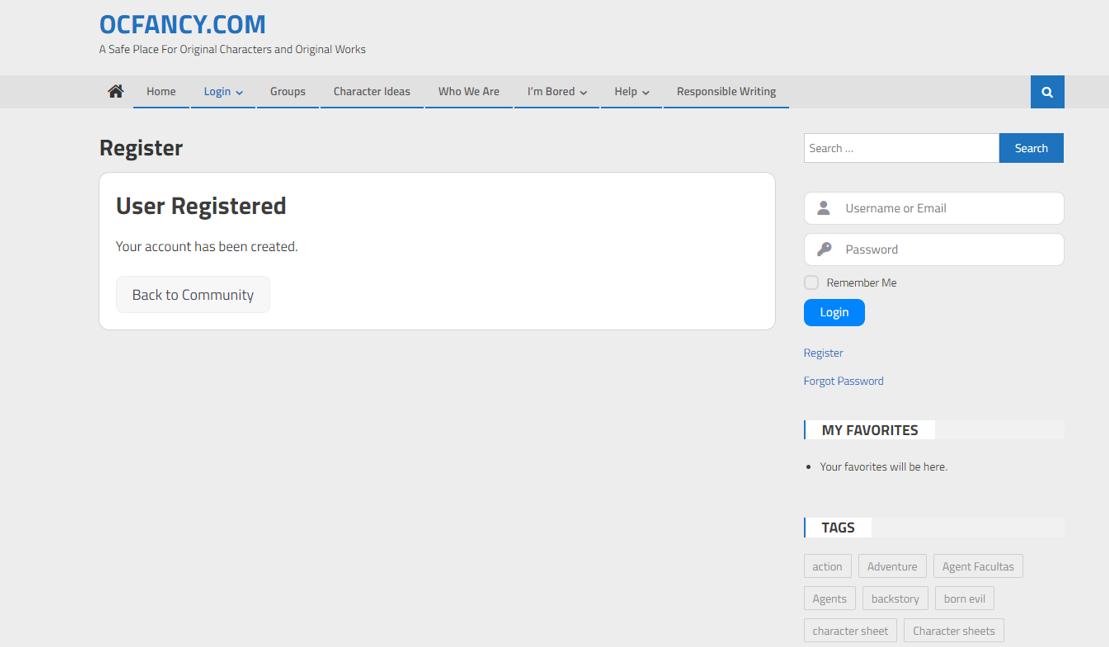
This is a confirmation that your credentials have been received by our server and you can now login to your account.
Step 2: Logging in
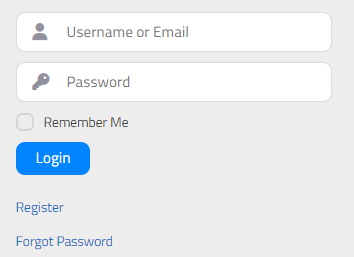
To access your new account, simply plug your credentials into the log in widget available on the right panel of all OCF pages. Note that when you are logged in, this will display your profile information.
After logging, in you will be redirected to your personal Activity Feed where you can view recent posts and comments from your friends, users you follow, or the whole community.
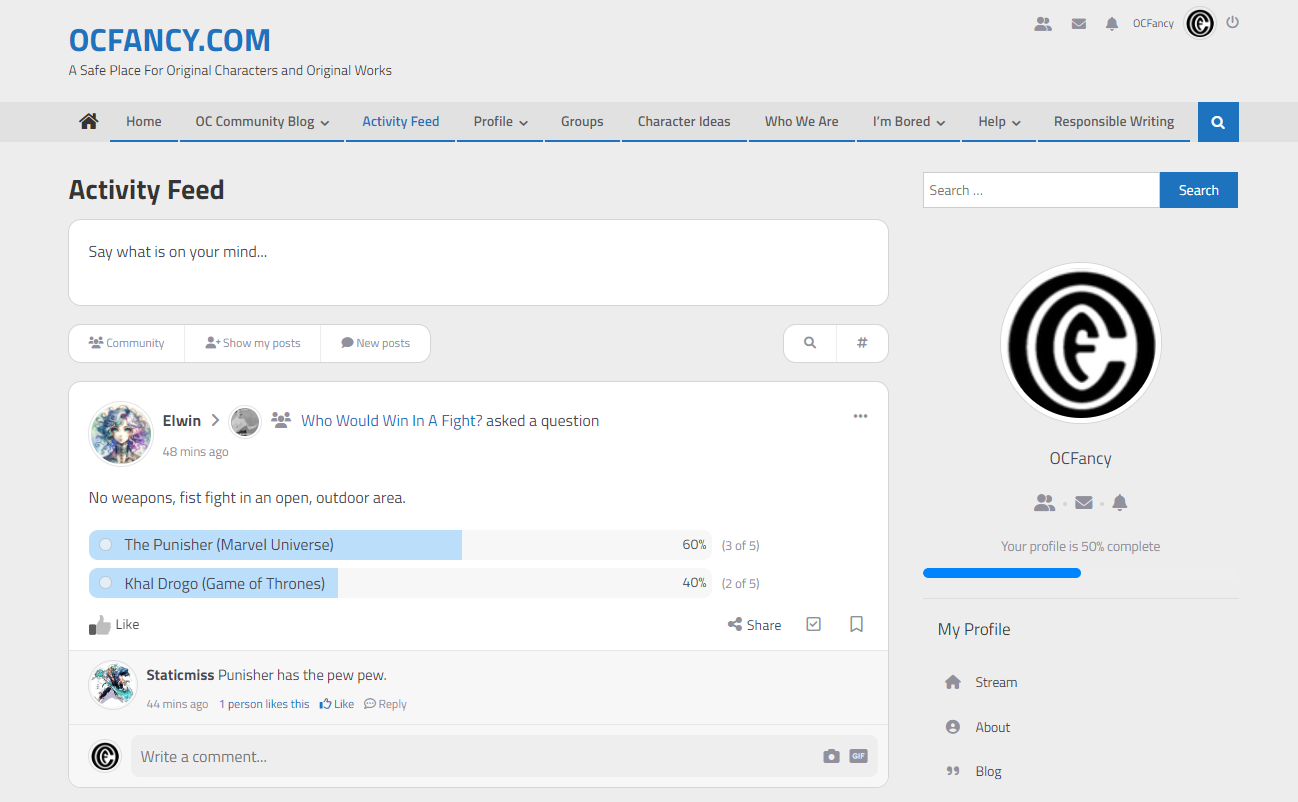
Notice that the widget on the right side of the screen now shows your profile summary, along with the “log out” option for when you complete your session.
Step 3: Accessing Your Profile and Blog
After your are logged in, you can click the link to your profile that will bring you to your author page.
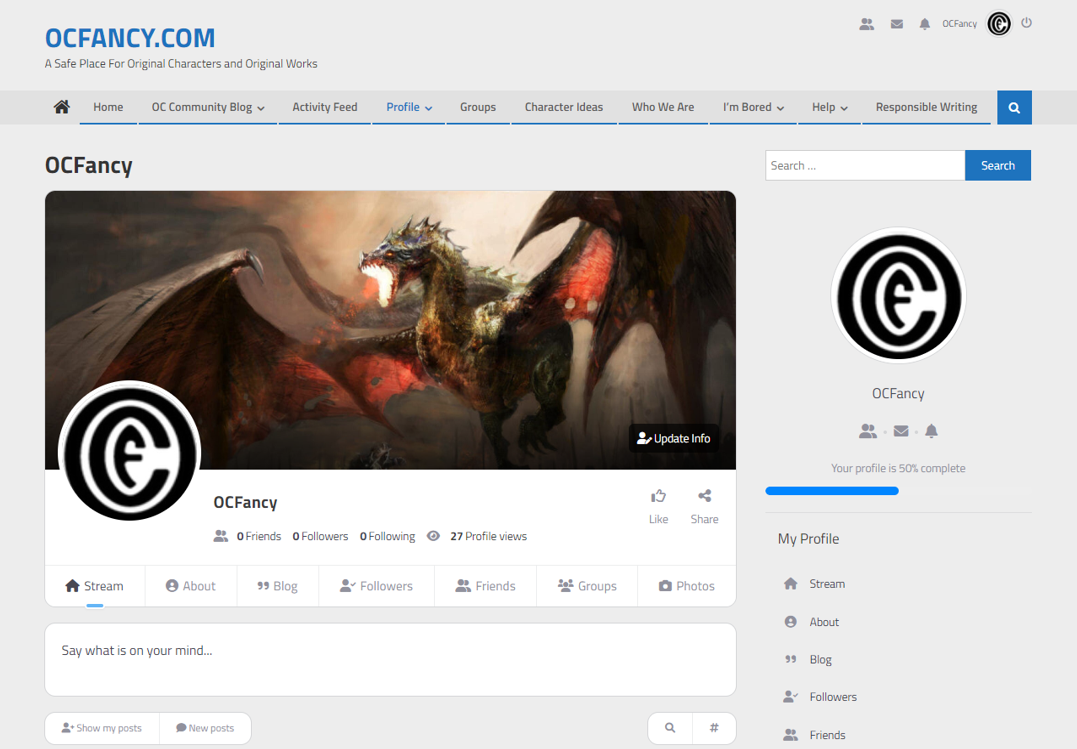
You can edit your profile picture by clicking on the default avatar or the header image by clicking on the camera icon.
Under the “stream” tab of your profile, you can post updates about your account or characters. Feel free to tag them up using #
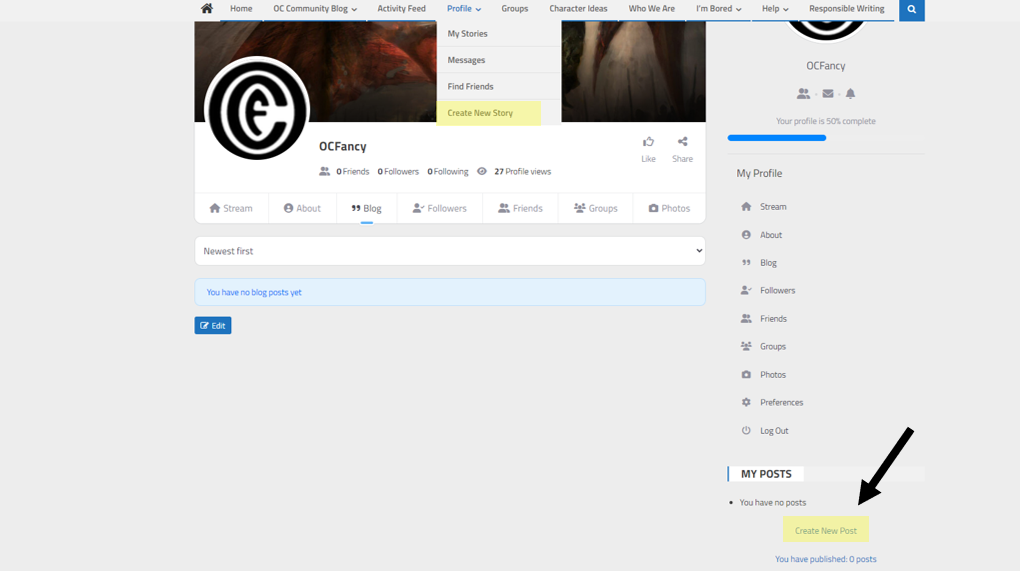
Step 4: Create a Post
If you would like to make a more official blog post, click on the “Create New Post” button or “Create New Story” link under the Profile Tab. Blog posts are recommended for more formal posts like full character sheets or original stories, but its your blog so its your call!
After clicking the button to create a new post, you’ll be taken to this screen:
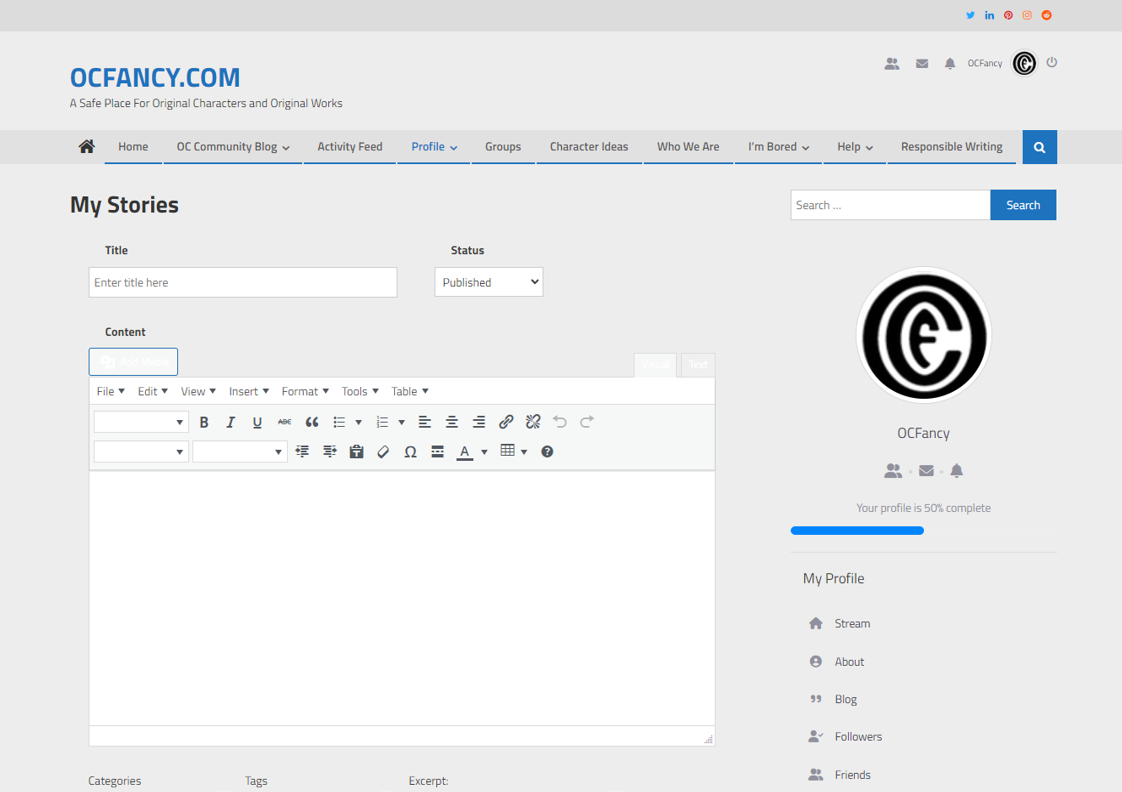
Feel free to add a brief description of your post in the “excerpt” box located at the bottom of the page. When you are done with your post, click one of the blue buttons at the bottom of the page to finish it up. To save it without redirecting you, click “Save”. To save your post and take you back to your existing posts, click “Save & Return”. To publish your post to the main blog and make it visible to other users, click “Publish” – this will also automatically save it.
Notice the “status” options located at the top of the page as well. You can change the status of any of your existing posts as you please. “Published” will display your post on the main blog of the Original Character site, while “Draft” or “Pending Review” will keep your post private to you until you are ready to publish it.
If you would like to insert some character art into your post, click “Insert” and then “Add Media.” Pictures can be inserted directly into your posts so users can see your art alongside your character description or backstory.